In this Blog you will learn how to Deploy ADDS role on Windows Server 2019 and How to Promote ADDS to Domain Controller. Installation of Active Directory in Windows Server 2019.
This will be accomplished by installing the appropriate role and upgrading the server to a domain controller.
Basically, it is a two-step process, installing the ADDS role and upgrading it to a DC.
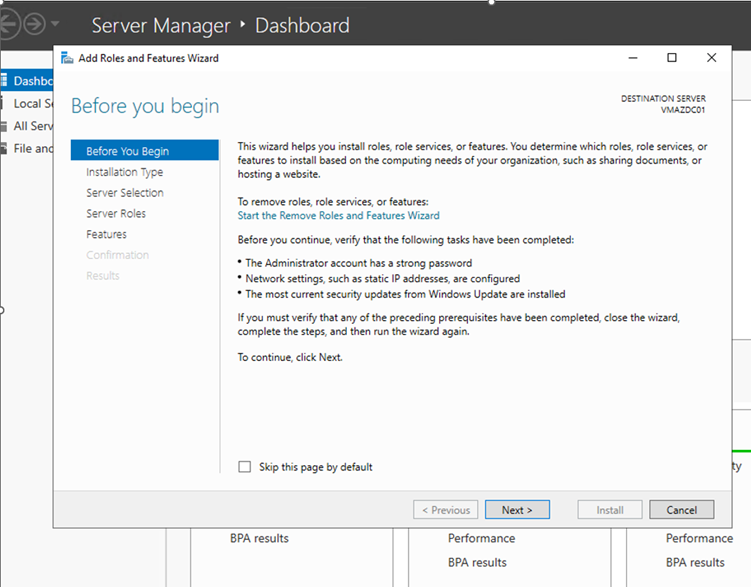
1: Open Server manager
Windows> Server Manager
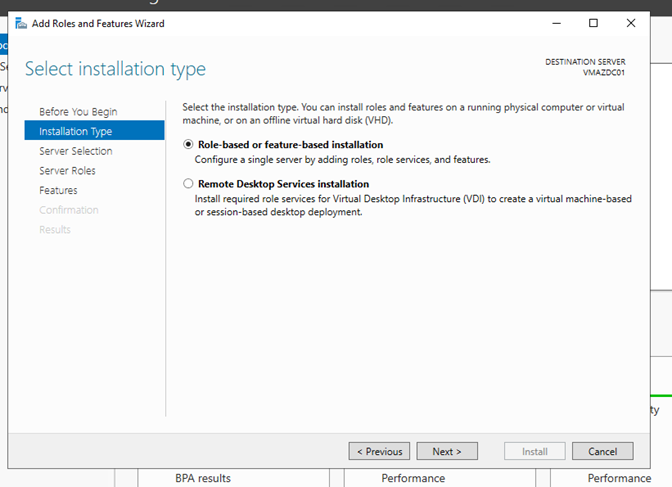
2: Go to Add Role and Features:
3: As Active Directory domain service is an Role so go with Role based option:
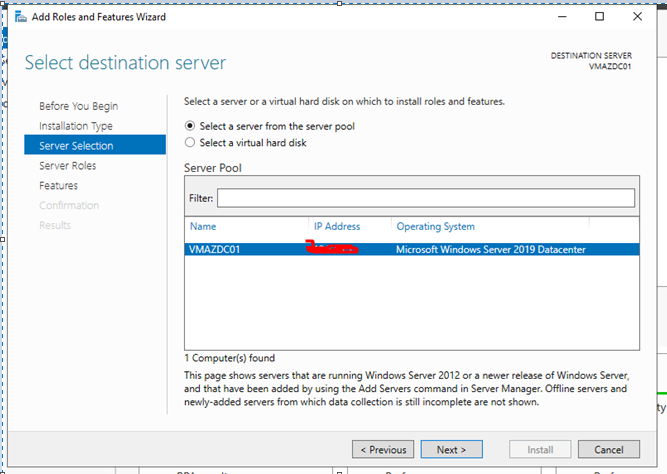
4: If you have multiple server already added in Server pool then select the server from the list on which you are require to deploy AD role.
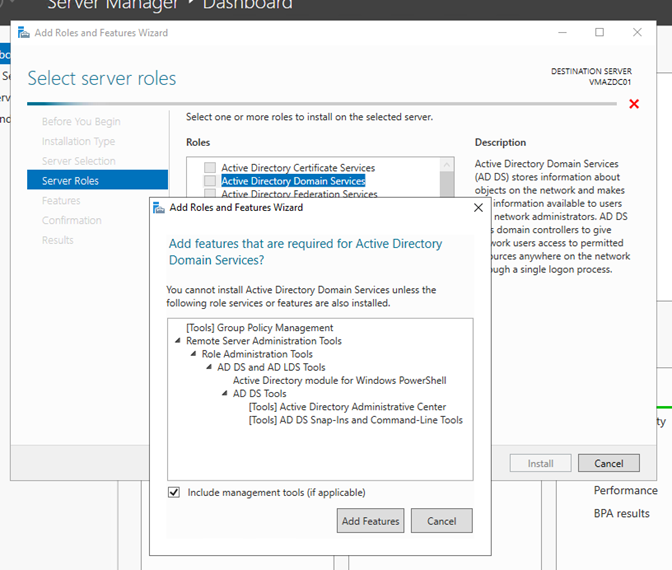
5: These roles are for Active Directory Domain Services and accept addition of related features. Click the Add Features and Next.
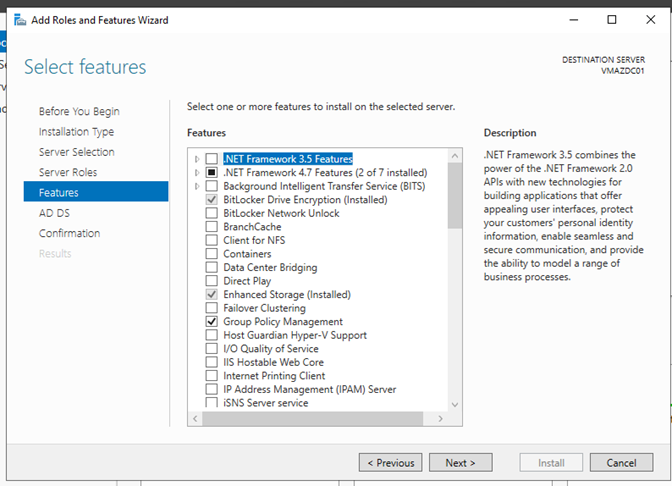
6: The next window is named “Features” but here we need nothing to add so just go to the next section. Although if you would like to add any other features from business requirement point of view, please select
7:

8: Final installation begins:
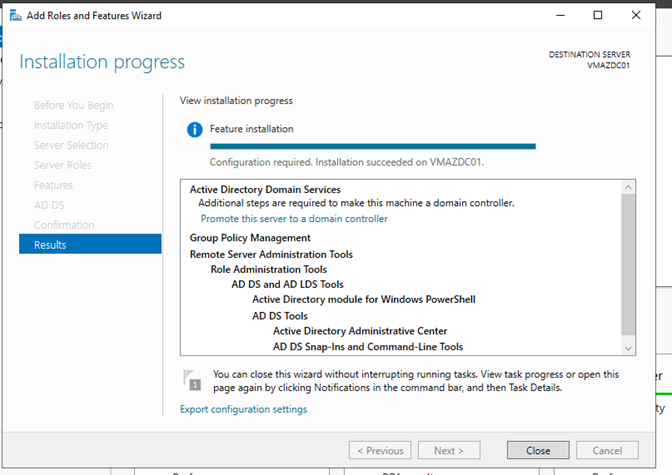
Now you have ADDS role installed and deployed on Server 2019. Now the 2nd phase of work requires to be configure this AD and Promote it to Domain Controller.
How we must promote it to Domain Controller is, follow the steps:
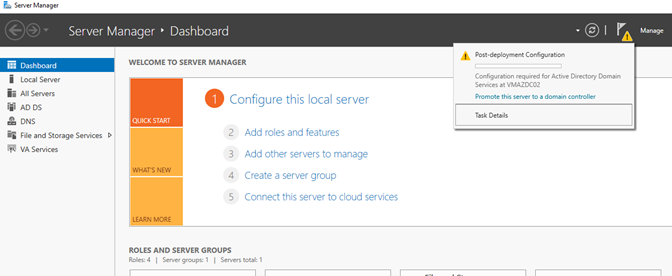
1: Now let’s go to Server Manager again, click on the flag Icon and you have the notification for promote this server to domain controller as below:
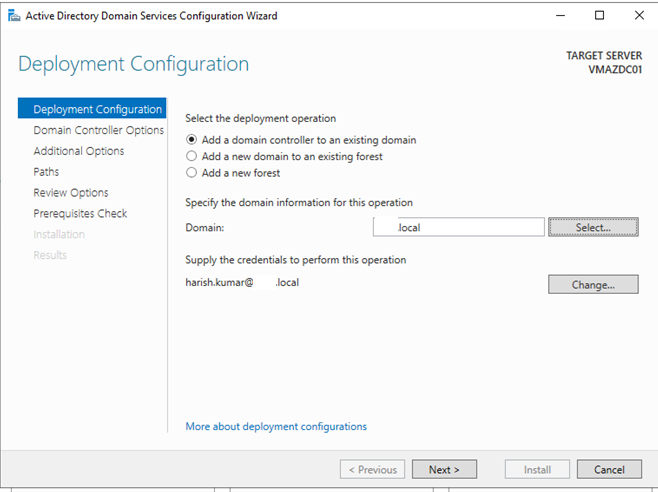
2: Select the option as per requirement, in my case its an existing domain were promoting AD as DC.
- Select the Domain
- IT will prompt for enterprise admin cred.
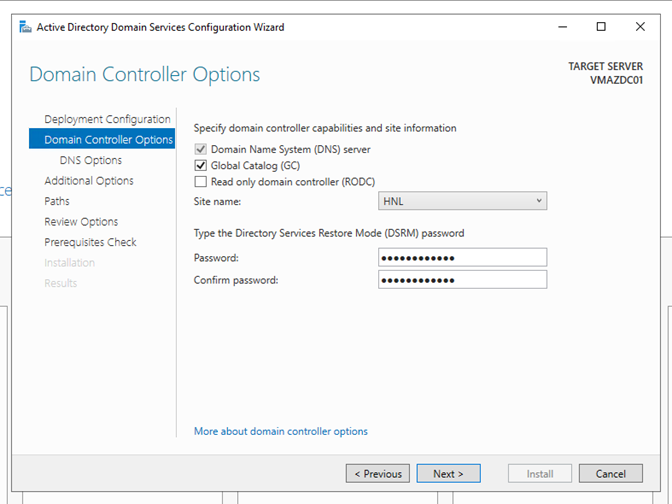
3: Now again select the option Global Catalog and select site name in my case its HNL for testing and create Directory Service Restore Mode password:
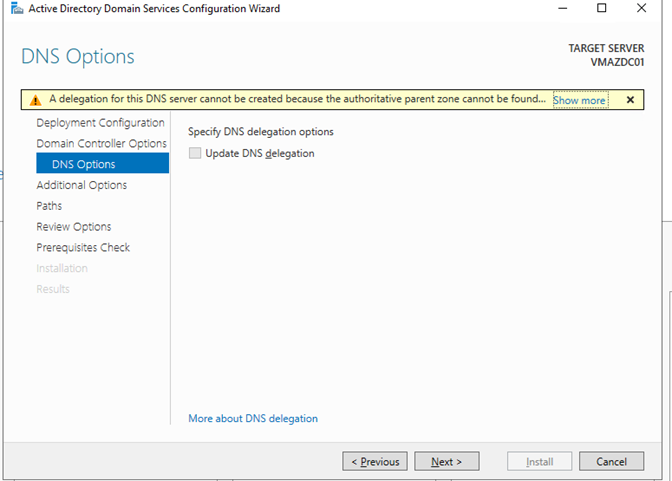
4: We already have DNS server so not selecting the option or else we need to install DNS role on this server to make it work.
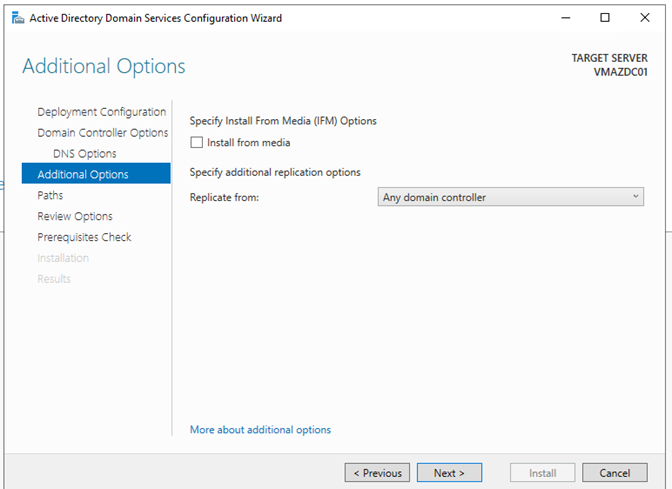
5: Replicate From option is selected as any domain controller or this can be done using USB media:
6: Default path to save the files:

7: Review it and then click Next:
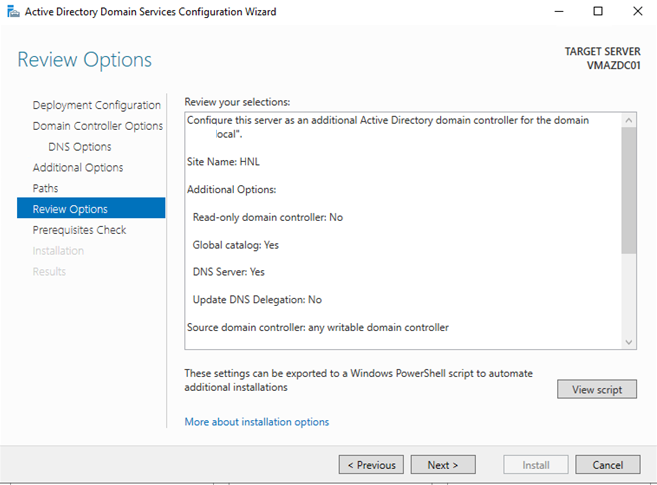
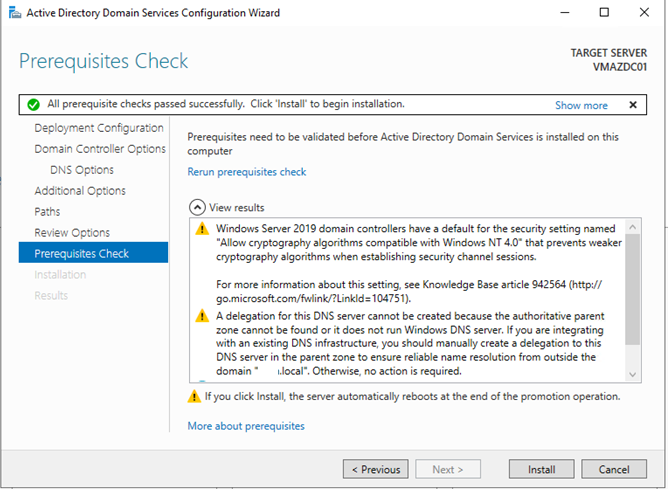
8: Even though it’s showing some warnings, but the Prerequisite is passed and checked successfully, now click on Install and wait for 10-15min as it will pull the information from Another DC’s.
Now Restart the Server and it will be in DC and login using AD account.
!!! Thank you for Reading !!!