What is Microsoft Entra Cloud Sync:
New offering from Microsoft that helps you achieve your hybrid identity goals for synchronization of users, groups, and contacts to Microsoft Entra ID. It accomplishes this by using the Microsoft Entra cloud provisioning agent instead of the Microsoft Entra Connect Sync tool.
It can be used alongside Microsoft Entra Connect Sync and provides the following benefits:
- Support for synchronizing to a Microsoft Entra tenant from a multi-forest disconnected Active Directory forest environment.
- Simplified installation with light-weight provisioning agents.
- Multiple provisioning agents can be used to simplify high availability deployments, particularly critical for organizations relying upon password hash synchronization from AD to Microsoft Entra ID.
- Support for large groups with up to 50,000 members.
To install the Cloud Provisioning Agent follow the below steps:
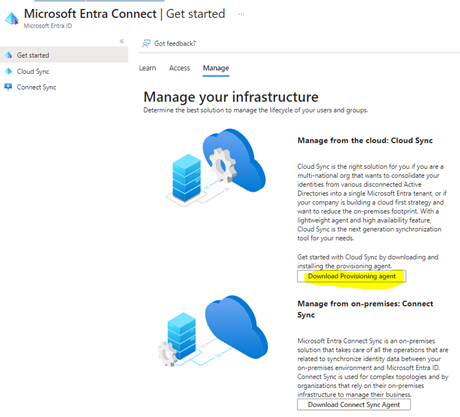
Logon to Azure Entra portal > Microsoft Entra Connect > Get started > Manage > Now you can download the Provisoning Agent on on-premises, as shown in the below picture:
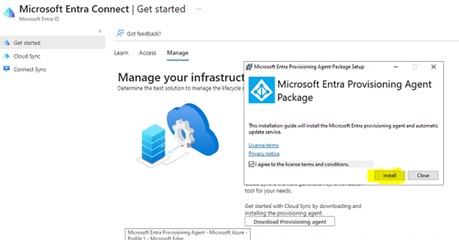
Now you can follow the on screens option to install, although I have pasted the screenshot for more clarity:
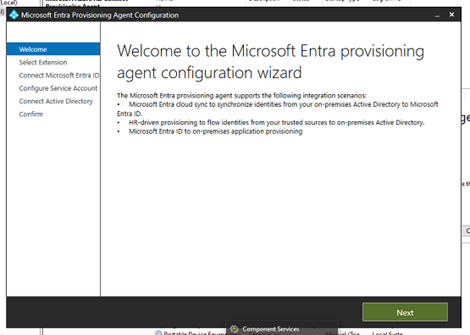
Now click next after selecting the appropriate option as per your company requirements:
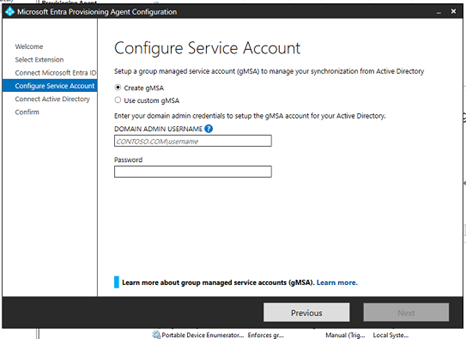
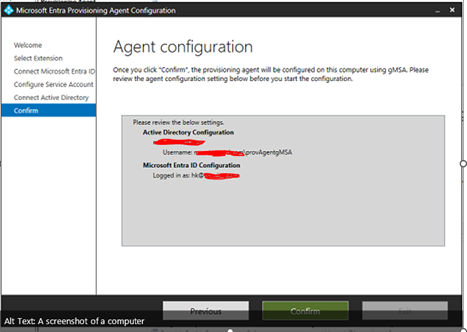
Now Enter the Service account detail which have the Domain Administrator rights or previledge.
Now Click on Confirm after checking the configuration and exit once finish.
Now back to Azure portal and lets start with the main configuration:
Logon to Azure Entra portal > Microsoft Entra Connect > Cloud Sync> click on New Configuration > AD too Microsoft Entra ID sync
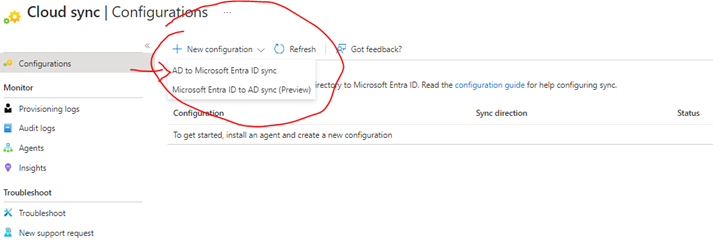
As soon as you click on AD to Miccrosoft entra ID Sync you have another window to confit the configuration and create:
Where it says Which Active Directory domain would you like to sync? (This place will have the domain automatically from the Agent we ran on on-premises)
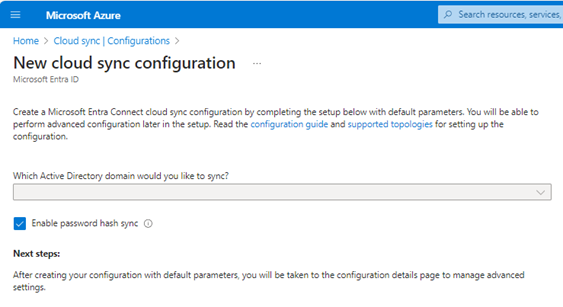
Enable Password Hash Sync if you want or your organization wants and then click on create at the bottom.
Now once you have things created it will redirect you to the previous screen and you will see your domain.com is showing Healthy.
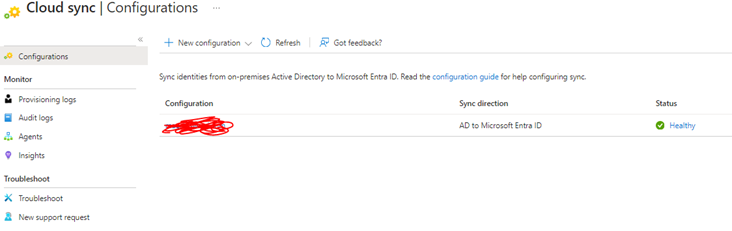
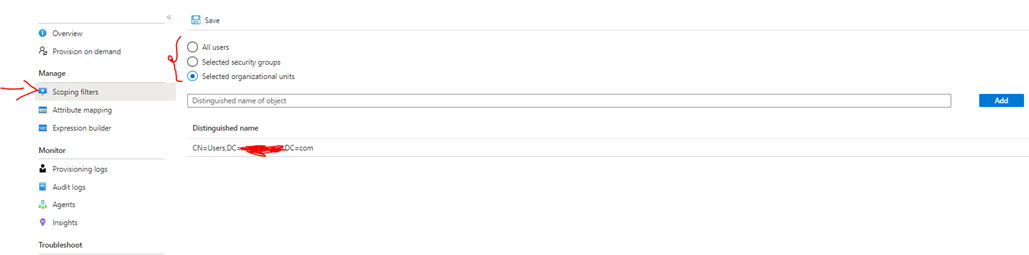
Now click on the domain and go to next screen to define the configuration for sync, since we have 3 options for sync I have chosen OU as we need to sync only an specific OU in my case:
SYNC an OU you have to define the OU Distinguised name (this you can get from AD by right click on the OU> Properties> Attribute now look for attribute called distnguisedname)
!!! THANKS FOR READING !!!
Regards,
HARISH KUMAR
Knowledge is not a finite resource to hoard; it’s a boundless treasure that grows when shared