How to perform the Restore of VM in Azure and in What situation.
Restoring virtual machines (VMs) in Azure could be required in various scenarios, including:
- Data Loss or Corruption: If data within a VM is lost or becomes corrupted due to accidental deletion, hardware failure, software failure, or malicious activities, restoring the VM from a backup can help recover the lost or corrupted data.
- Disaster Recovery: In the event of a disaster, such as a natural disaster, power outage, or infrastructure failure, restoring VMs from backups allows organizations to quickly recover their critical workloads and resume operations.
- Testing and Development: Restoring VMs from backups can be useful for creating isolated testing and development environments. Developers can use these environments to test new applications, perform software updates, or troubleshoot issues without affecting production systems.
- Migration and Rollback: When migrating workloads to Azure or between Azure regions, having backup copies of VMs allows organizations to easily migrate VMs while minimizing downtime and risk. In case of migration issues or compatibility issues with new environments, organizations can roll back to previous VM states using backups.
- Compliance and Auditing: Restoring VMs from backups may be necessary to meet compliance requirements or respond to audit requests. Having backup copies of VMs ensures that organizations can provide evidence of data protection and recovery capabilities as required by regulatory standards.
- Security Incidents: In the event of a security breach or cyberattack, restoring VMs from backups can help organizations recover compromised systems and data to a known, secure state. This is critical for minimizing the impact of security incidents and restoring business continuity.
- Configuration Errors: If configuration changes or updates cause unexpected issues or disruptions to VMs, restoring VMs from backups allows organizations to revert to previous known-good configurations and resolve the issues.
How to Do it?
1: Login to Azure portal : https://portal.azure.com Or https://portal.azure.us/ (IN GCCH)
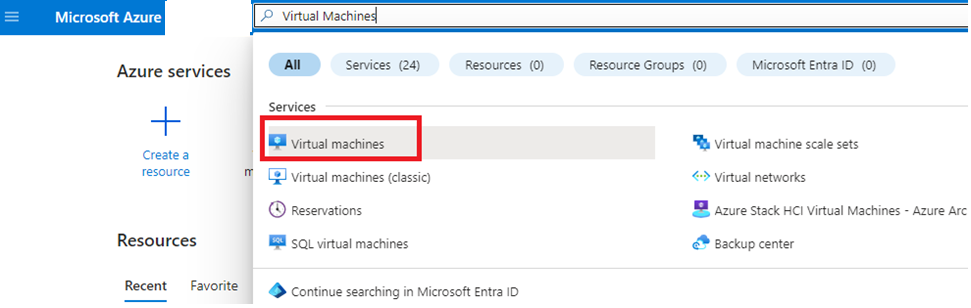
2: Search for Virtual Machine as shown in below screenshot
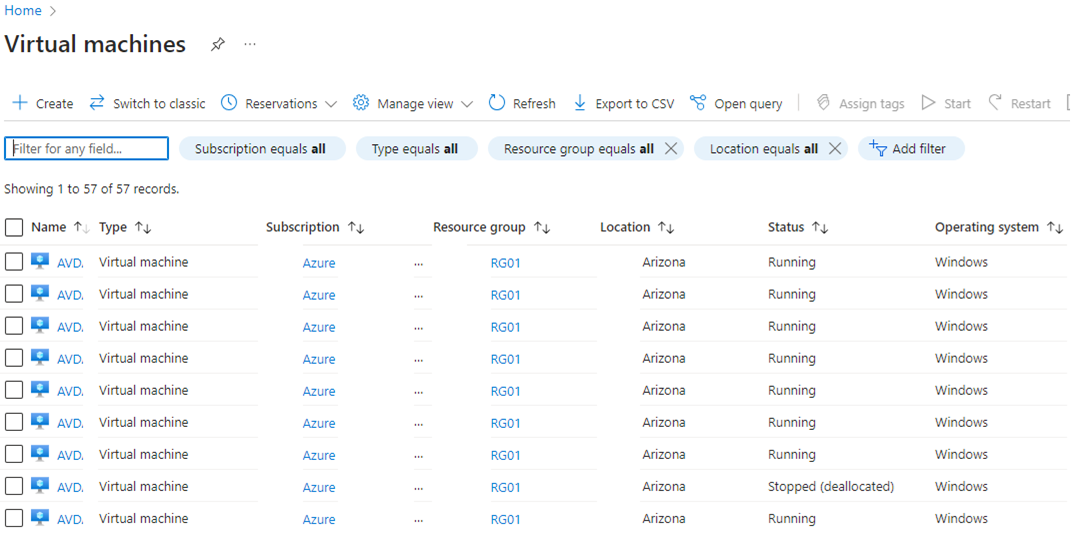
3: Once you are in Vitual Machines, you will be able to see all the VM’s in environment.
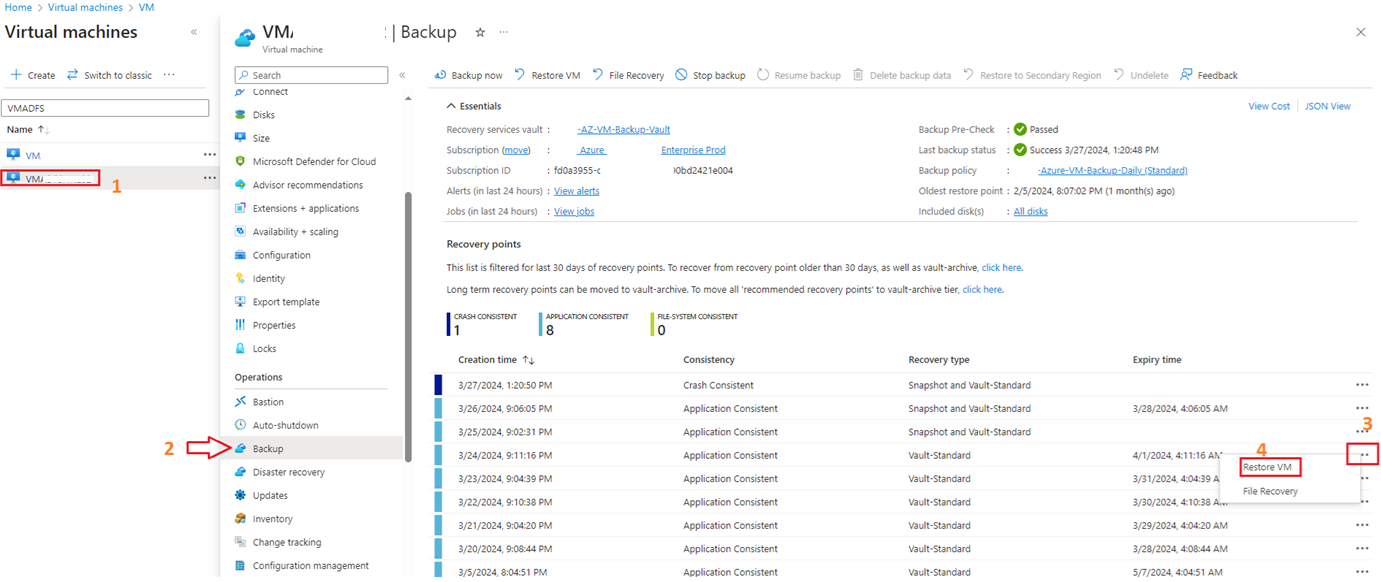
4: Click on the Machine you want to restore and then goto Backup option. Now you need choos the date on which you want to restore. Click on 3 dots to restore:
5: As soon as you click on Restore VM, you will see the below options:
Under Restore configuration you can choose as per requirement.
If you wants to create new VM then select Create new or if you wants to replace the existing then select this (In order to choos this option you need to stop the VM 1st before initiating the restore)

As soon as Restore completed now you can login back to the VM and will be able to see the complete VM is restored to back date along with the configuration, data and applications.
!!! THANKS FOR READING !!!
Regards,
HARISH KUMAR
Knowledge is not a finite resource to hoard; it’s a boundless treasure that grows when shared.